
How to iron clothes properly fast starts with a simple idea: spend 60 seconds setting up, and you save 10 minutes fighting wrinkles.
If ironing feels slow, it’s usually not because you “iron badly,” it’s because the heat, steam, fabric, and order of steps don’t match, so you keep re-pressing the same spots. A few small changes can make shirts and pants look sharp with less effort.
This guide focuses on speed without sloppy results: a fast setup, the right temperature for each fabric, a practical ironing sequence, and a few tricks that prevent shine, scorch marks, or re-wrinkling.
Quick takeaway: If you only remember one thing, iron slightly damp fabric, use the correct heat zone, and press in a consistent order.
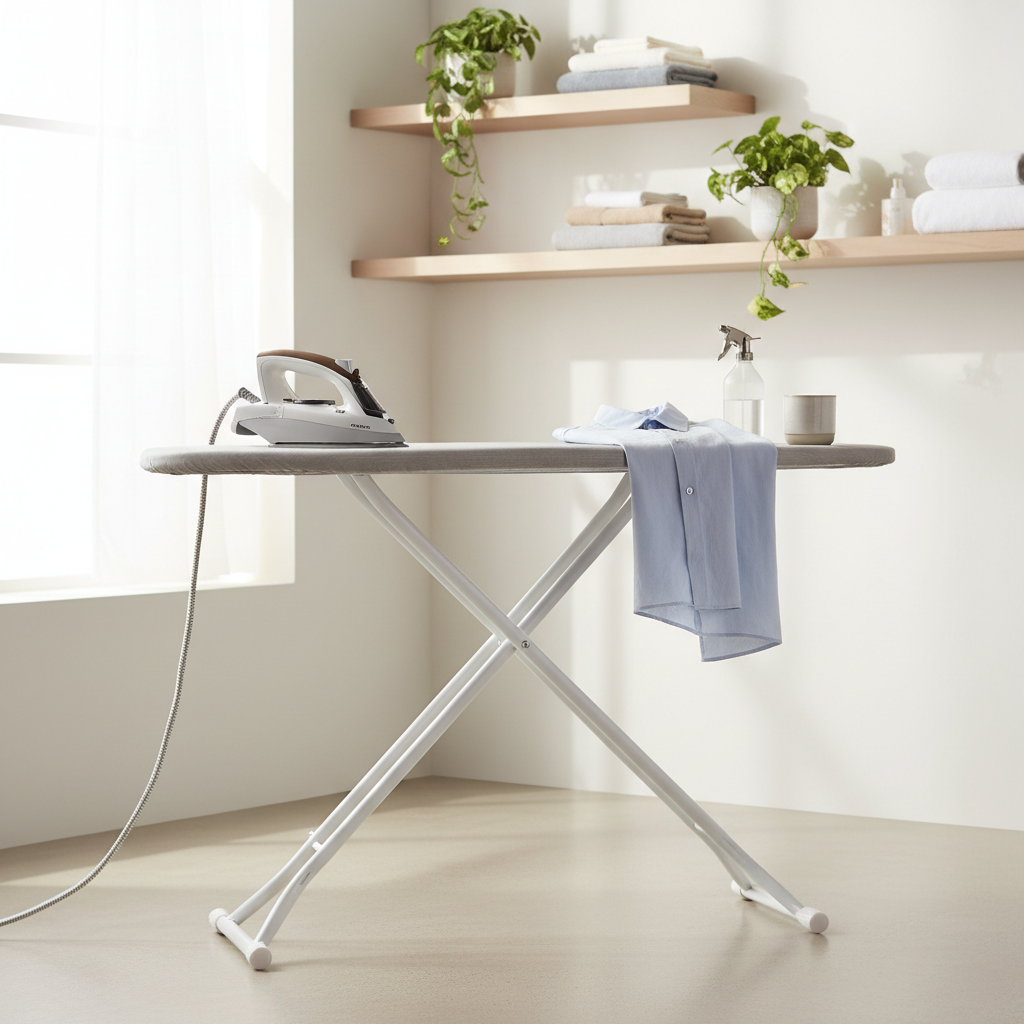
Set up for speed (the part most people skip)
Fast ironing is mostly workflow. If you’re walking back and forth, refilling water mid-shirt, or adjusting the board height while holding a hot iron, you lose momentum and safety margin.
- Board height: Set it so your forearm stays roughly parallel to the board, less shoulder fatigue means faster passes.
- Good light: Wrinkles hide in dim corners, then show up outside. A bright lamp pointed at the board helps.
- Water plan: Fill the iron once, keep a small spray bottle nearby for stubborn areas.
- Hanger station: Place 2–3 hangers within arm’s reach so finished items don’t get tossed and re-wrinkled.
According to U.S. Consumer Product Safety Commission (CPSC), hot household appliances can cause burns and fires, so keep the iron upright when paused and avoid leaving it unattended, even briefly.
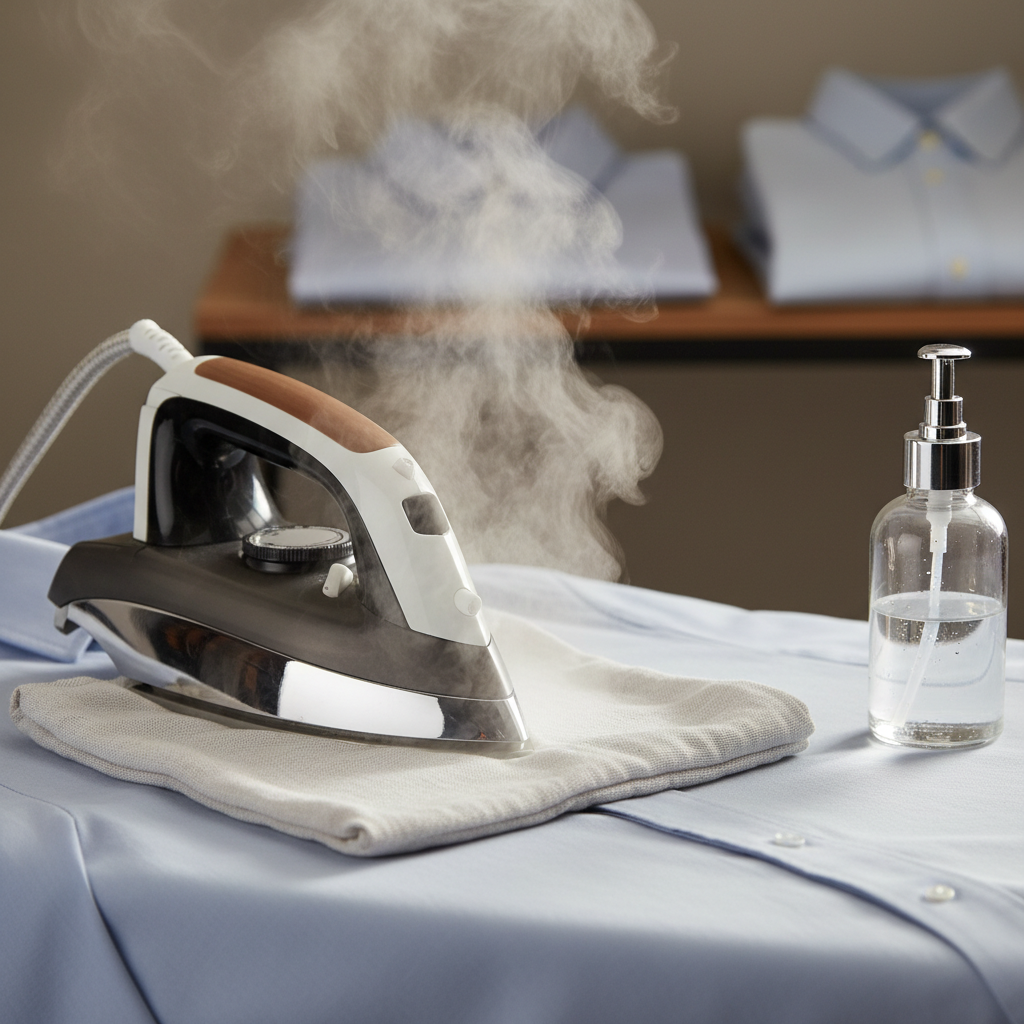
Know your fabric: heat, steam, and when to avoid both
If you want to iron clothes properly fast, match the fabric to the iron’s heat and steam. Too cool means you keep going over the same crease, too hot risks shine or damage.
Fast fabric settings cheat sheet
| Fabric | Heat level | Steam? | Speed tip |
|---|---|---|---|
| Cotton | High | Yes | Use strong steam on collars/cuffs, press seams flat first |
| Linen | High | Yes | Iron while slightly damp, work in sections |
| Polyester | Low–Medium | Light | Use a pressing cloth to prevent shine |
| Wool | Medium | Yes (hover steam) | Steam above fabric, then press briefly, don’t drag |
| Silk | Low | Usually no | Iron inside-out, minimal moisture, quick light presses |
| Rayon/Viscose | Low–Medium | Light | Inside-out, avoid over-wetting to reduce water marks |
Label beats guesswork: check the care label when possible. “Do not iron” often means heat can melt fibers or leave permanent marks, steaming may be safer.
The fastest ironing order for shirts (without chasing wrinkles)
Most people iron the biggest panels first, then create new wrinkles when they handle collars and shoulders. Reverse that habit and you’ll notice the speed difference immediately.
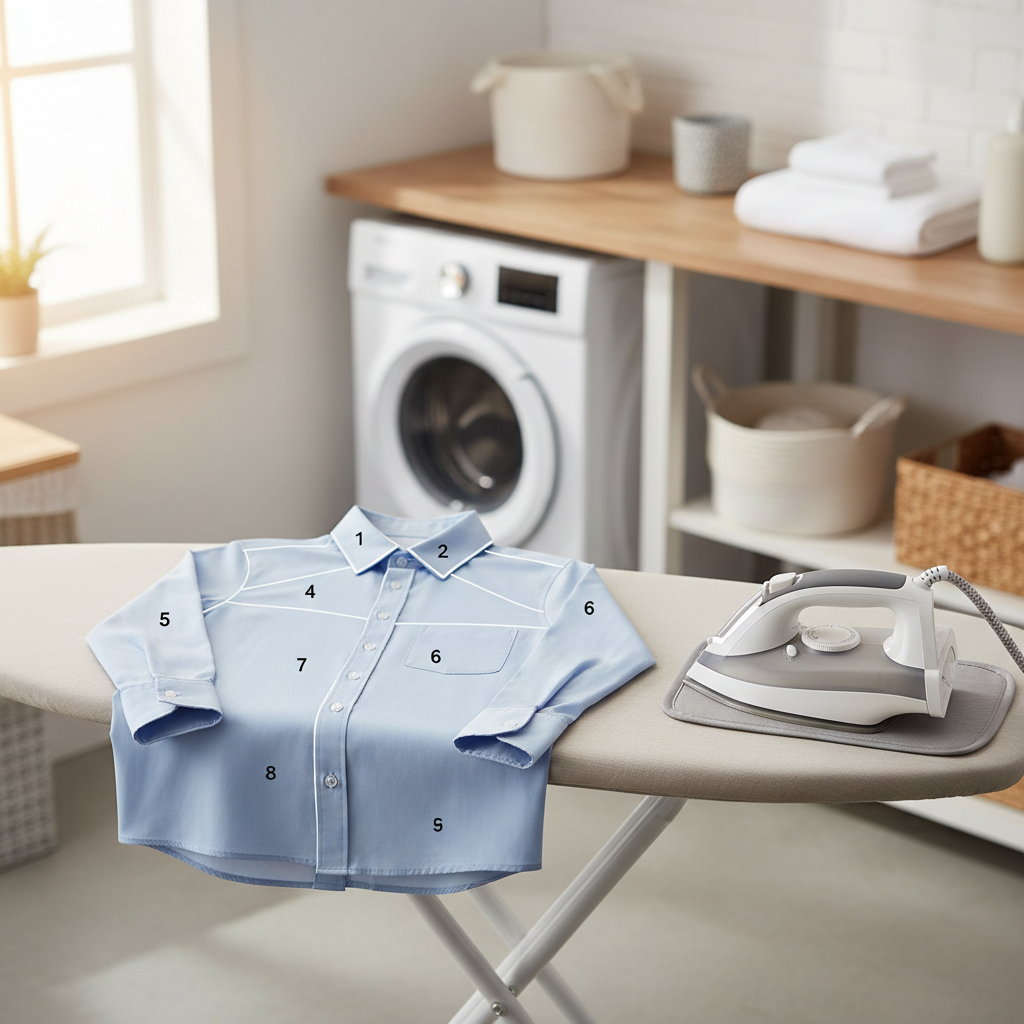
- Collar: open it flat, iron underside first, then top side, press from points toward center to avoid puckers.
- Cuffs: unbutton, lay flat, iron inside then outside, avoid ironing over buttons.
- Yoke (shoulder area): drape over the narrow end of the board and rotate, short presses work better than long drags.
- Sleeves: align seam to seam, press from shoulder down, then flip; for a no-crease look, iron sleeves with the fabric slightly lifted so edges don’t stamp a hard line.
- Front panels: work around buttons, don’t press directly on them.
- Back panel: finish here; it stays crisp because you handle it least.
Key point: Think “press and lift,” not “scrub and drag.” Dragging stretches fabric and makes fresh ripples you then have to fix.
Pants, jeans, and skirts: a quick method that still looks tailored
For bottoms, speed comes from respecting seams. Seams are your roadmap, if seams don’t line up, you’ll iron wrinkles into place.
Dress pants and chinos
- Start with pockets and waistband, those areas wrinkle when you grip the item.
- Align inseam and outseam, press one leg at a time.
- If you want a crease, set it by pressing the fold line with steam, then do a final dry press for a few seconds.
Jeans
- Use medium-high heat, steam helps.
- Press around thick seams in short bursts, don’t linger or you may get shiny “heat spots.”
- If speed matters more than perfection, iron only the upper front (pockets/zip area) and the lower leg fronts.
Skirts
- Work from waistband down.
- For pleats, press with a cloth on top, use steam, then hold the pleat flat for a second before lifting the iron.
Real-world shortcuts: when “good enough” is actually smart
Not everything needs a full board session. If you’re trying to iron clothes properly fast before work, prioritize the zones people notice on camera and in conversation.
- Video-call priority: collar, shoulder line, upper chest, sleeve tops.
- In-person priority: front placket area, wrinkles near pockets/hips, hems that flip.
- Steam-only save: knits, many synthetics, and lightly wrinkled cotton often respond well to a garment steamer.
According to Federal Trade Commission (FTC), care labels are meant to guide consumers on safe garment care, so if the label suggests “cool iron” or “steam only,” treat that as your default.
Troubleshooting: why wrinkles won’t leave (and what fixes it fast)
When wrinkles “bounce back,” it’s usually moisture, heat, or pressure mismatch, not your technique. Fix the mismatch and the fabric cooperates.
- Wrinkles stay: raise heat one level (if fabric allows) or add a light mist, then press and hold 2–3 seconds.
- Shiny patches: heat too high or too much pressure, switch to a pressing cloth and lower temp.
- Water spots: too much spray on delicate fabric, use distilled water and lighter steam.
- New creases appear: you’re dragging the iron or the board cover is bunched, smooth the cover and use lift-and-press.
- Iron spits/browns: mineral buildup or dirty soleplate, stop and clean before you stain a garment.
Safety and garment-care mistakes that cost time later
These aren’t “rules for rules’ sake,” they’re the stuff that causes rework, damage, or a frustrating reset mid-task.
- Don’t iron over stains: heat can set some stains, making removal harder, if you’re unsure, treat and wash first.
- Avoid ironing directly on prints: graphics can melt or crack, turn inside-out and use low heat.
- Mind cords and edges: keep the cord away from the soleplate, and keep the iron stable on the rest position.
- Ventilation helps: steam adds moisture to a small room, cracking a door or window can make the space more comfortable.
If you notice scorch marks, melted fibers, or smoke, stop immediately and let everything cool, when in doubt it’s reasonable to consult a professional cleaner or tailor for fabric-specific advice.
Practical routine: a 10-minute plan for a week’s worth of “presentable”
If your goal is speed, batching beats random ironing. Put 4–6 items in a small queue, start with lower-heat fabrics, then move up to cotton/linen so the iron warms once and stays steady.
- Minute 1: set board height, fill iron, lay out hangers.
- Minutes 2–7: shirts in the collar-to-back order, one at a time, hang immediately.
- Minutes 8–10: quick touch-ups on pants waist/upper leg fronts, then a final glance under good light.
Key points to remember:
- Match heat to fabric so you don’t re-iron the same area.
- Iron in a consistent order to avoid creating new wrinkles.
- Use steam or light mist for stubborn creases, not extra force.
- Hang immediately to lock in the finish.
Conclusion: faster ironing is mostly fewer repeat passes
Once you stop chasing wrinkles and start controlling heat, moisture, and sequence, you can iron clothes properly fast without lowering your standards. Pick a simple setup, follow the shirt order, and use a pressing cloth when fabric gets shiny.
If you want an easy next step, set up a “ready to iron” spot with a spray bottle and hangers tonight, then run a quick 10-minute batch in the morning and see how much smoother it feels.